Workshop: Glue & Shave
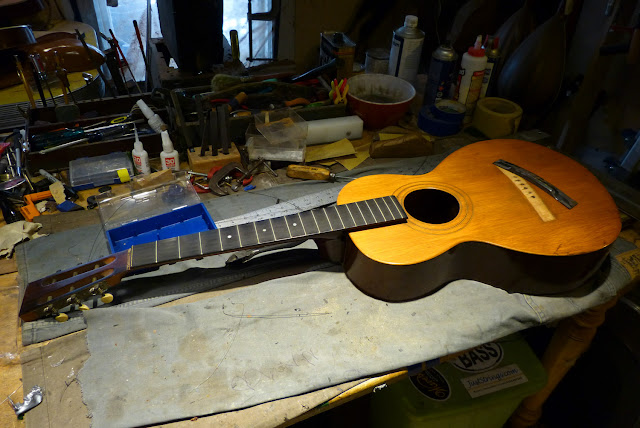
This is a customer's gorgeous Howe-Orme cylinder-top guitar from, apparently, the 1890s. It's in overall absurdly-excellent shape, though the bridge needs a reglue and it will eventually get a fret level/dress, setup, and small bridge modification as well.
You can see the interesting swell (arch/cylinder-shape) to the top.
The original finish on the stained-maple bridge (originally black to match the ebony of the freboard) is flaking like crazy, so before I reglue it...
...I scrape it all off, mark the location for gluing, and sand-up the surfaces. I'll also fill the old fret-saddle-slot before I glue as I will be cutting a new slot at a compensated angle during setup.
Another fascinating feature of thise Howe-Orme is an early zero fret...
...and a fully-adjustable mechanical neck attachment. This same idea has been attempted over and over again in the history of guitars (with minor nuanced changes) but is never adopted wholesale, in the end, due to the fact -- I think -- that it's just not traditional in looks. It will certainly make my "neck reset" work a breeze, though, as it's adjustable forward/back and side-to-side.
The locator pin and metal bracket on the heel hold it in place on one side of the "joint" and on the other side is a simple locator dowel to keep it more-or-less aligned.
The next job I started on was a bridge shave on this 1890s rosewood-bodied Vega. This guitar's neck angle was pretty good right-off and both the owner and I were apprehensive about doing a full neck reset due to the funkiness of the shallow tenon joints used on these.
Since the bridge already had hairline cracks in its top along the pins, a minor shave didn't seem to be much of a crime to get it playing on-the-dot.
The first step was to carefully wiggle the saddle out and then chisel the 1/16" down that I wanted to go to give extra clearance for action adjustments in the future. You have to be careful to not chisel in the wrong direction or giant chunks will pop out of the rosewood!
I could've probably just sanded the saddle nearly flush with the bridge top and left it at that, but this is a more practical solution for the owner down-the-line.
The next step was to get out my Dremel's cut-off wheel and deepen the original slot.
With careful use of the wheel, I've now got a level, perfect-width slot for the original saddle. To dial-in the action I just need to adjust the saddle, now.
Since I've taken these photos I've finished sanding, polishing, finishing, and buffing the bridge to match -- more or less -- its original finished patina. With this work done, the only job remaining on the guitar (aside from the burst seams that I already repaired) will be to give it a fret level/dress and set it up.


Comments