
1950s/2016 United-made Baritone Resonator Ukulele

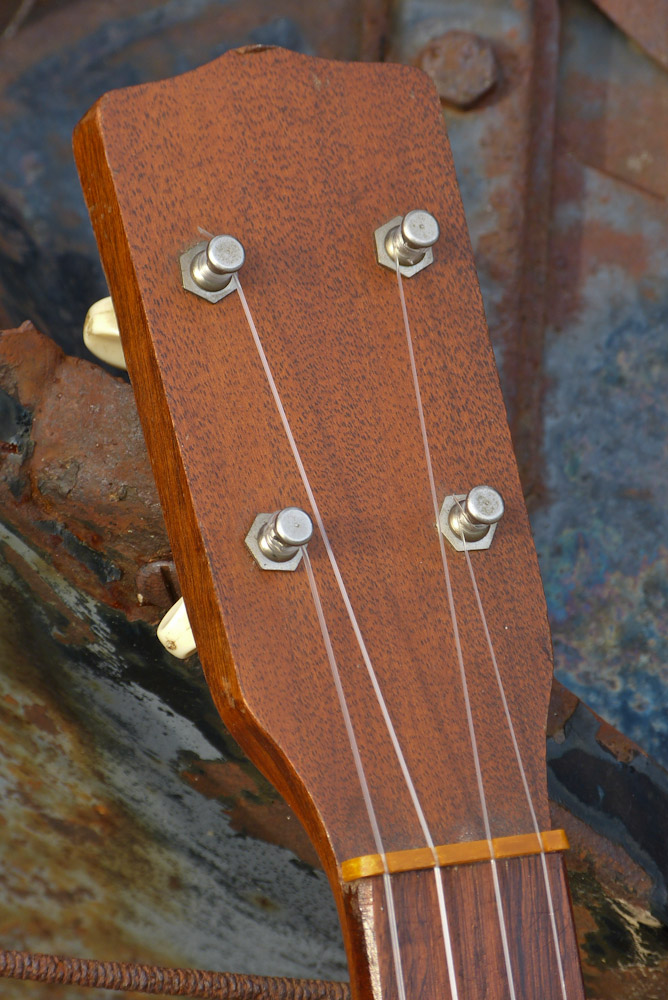
Update: I've added the above pic and the ones directly below this red text to note the Kluson-style tuners I installed recently. They work (and look) a lot better than the old friction pegs!


Now back to the original post...
I've always wanted to make-up one of these -- and when a friend of mine paid for some minor repairs via trade with this uke, I had the good excuse to do it up. The bari itself was made by United and the quality of their bari-uke instruments varied from good to decent to sometimes-flops in terms of tone. This one, I could tell, was going to sound quite stiff "as normal."
So, instead of being boring, I reset the neck (bolted+glued), leveled/dressed the frets, routed a hole for a 5 7/8" resonator cone, and fished in my box of speaker grilles for something to use as a coverplate. I've wanted to try-out an "inverted biscuit cone" resonator design for some time and I'm pleased to say it works darn well. I knew it'd be at least "okay" since the Schireson cones of the same idea worked nicely, but this one turned out far, far better than I expected. It's loud as heck and sounds the business.
FYI, I have this strung up all-plain fluorocarbon in "low G uke" tuning, so it's sort-of like a super-tenor uke with its 19" scale.

FYI, I have this strung up all-plain fluorocarbon in "low G uke" tuning, so it's sort-of like a super-tenor uke with its 19" scale.


The original yellowed plastic nut is still working just-fine. I may replace the tuners with 4:1 Gotoh UPTs, though.

White side-dots join the faux-pearl dots in the rosewood board.


So, what's going on? Yep -- it's a 5 7/8" resonator cone flipped upside-down. This one is an off-brand unit from a set of 3 "tricone" cones, so it has a "pointy" top. Since the "top" is now the "bottom," the pointy-ness is no issue since the biscuit rests on the other side.
The coverplate is from a '40s projector amplifier and speaker housing. I've cut the middle section to allow the saddle through.

The biscuit is a piece of spruce dowel and the saddle, slotted into it, is standard Dobro-style saddle material from StewMac. There's one tiny screw holding the biscuit in place against the cone, just like on the right-side-up biscuit cones.

A "tailpiece" wasn't necessary since I just drilled-through some holes to hang the strings like on old '20s banjo ukes.

The cones have two "lips" on them -- an outer edge with a flexible stairstepped section and an inner, flatter edge. I used that inner, flatter edge to rest on the instrument's routed-out top. The outer section raises the coverplate off the top and allows for a clean install. Like a Dobro cone's mounting, the tension holds the cone in place quite well. This was a compromise, of course, because the best install would involve seating the whole cone in a slightly-recessed soundwell so it'd vibrate even more.


This neck was loose when it came in so it was easy enough to reset with a couple of drywall screws mounted internally plus a bit of glue to set the dovetail as well.
Comments
Did you ever make a vid of this one? I've searched but no luck. Thanks!