Workshop: Installing Side Dots
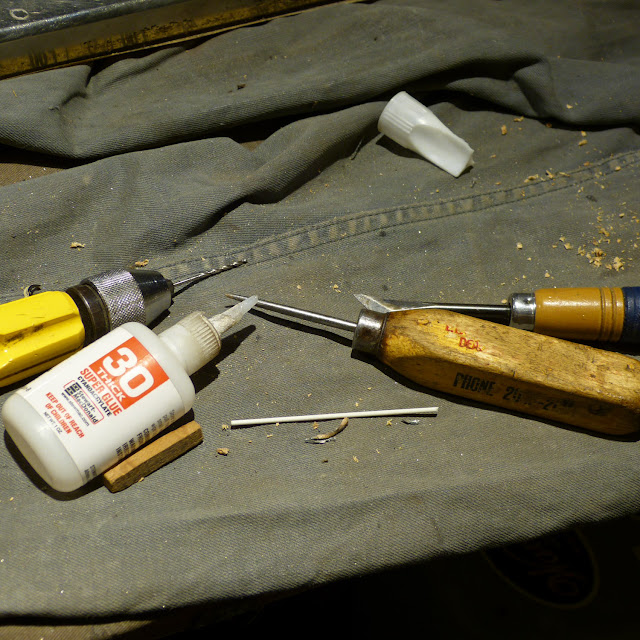
Here's a simple way to install side dots on instruments. Above are the tools needed -- a drill (I prefer a hand drill as it's slower to mess something up), proper bit (this is 1/16" to match the 1/16" plastic StewMac side dot material), gel super glue, an awl, and a chisel.
Step one -- use the awl to mark the locations for your side dots.
Step two -- drill the holes. I go about 1/16" to 1/8" in the side -- not far at all but enough to hold the material.
Step three -- put a dot of super-glue gel (or thinner super glue -- whatever you have on hand) on something you can dip the side dot material in the glue with.
Step four -- dab the end to get a tiny bit of glue on it.
Step five -- fit it in the hole. You must hold the inlay rod pretty steady and apply even pressure near where the hole is so as to not bend/kink the rod.
Step six -- use the chisel to cut the inlay flush.
Ta-da.


Comments