
1920s Harmony-made Supertone Birch Soprano Ukulele

I received this peanut-shaped, Sears-sold, Supertone uke in trade last week and it immediately reminded me of the sorts of ukes I was hunting-for and working-on 6-7 years ago all the time. This same birch-bodied instrument came in all sorts of finishes and with all sorts of badging, but is a Harmony product through and through.
As usual, it has a great, chunky, vaudeville-centric tone with the sweetness and clarity I expect from these builds. Like earlier Hawaiian ukes, the neck has no fretboard and the frets are set into the top of it. This gives a different feel as the strings are closer to the top near the end of the fretboard than on modern ukes.
While it looks like someone reglued the neck (it was nice and solid when it came to me) and attempted some brace repairs, my work included actually fixing the loose braces, an additional hidden bolt to shore-up the neck joint (I don't trust doweled joints), a bridge reglue, fret-saddle replacement (the original one was very worn and a hair low), a fret level/dress, replacement 12th fret, and setup with Martin fluorocarbon strings. It's playing on-the-dot with 1/16" action at the 12th fret.
Specs are: 13" scale, 1 3/8" nut width, 1 3/16" string spacing at the nut, 1 3/4" spacing at the bridge, 6" lower bout, 4 7/8" upper bout, and 2 3/8" side depth. The neck has a flat fretboard and a slim-to-medium C/V back profile.
Woods are: solid birch body with ladder bracing and poplar neck. There's only one small hairline crack on the side near the neck and it's glued-up and stable. This uke has 2-ply binding on the top edge and soundhole which gives it a dressier appearance than average.


Aside from the fret-saddle and one tuner post, the instrument is all-original. The nut is rosewood.


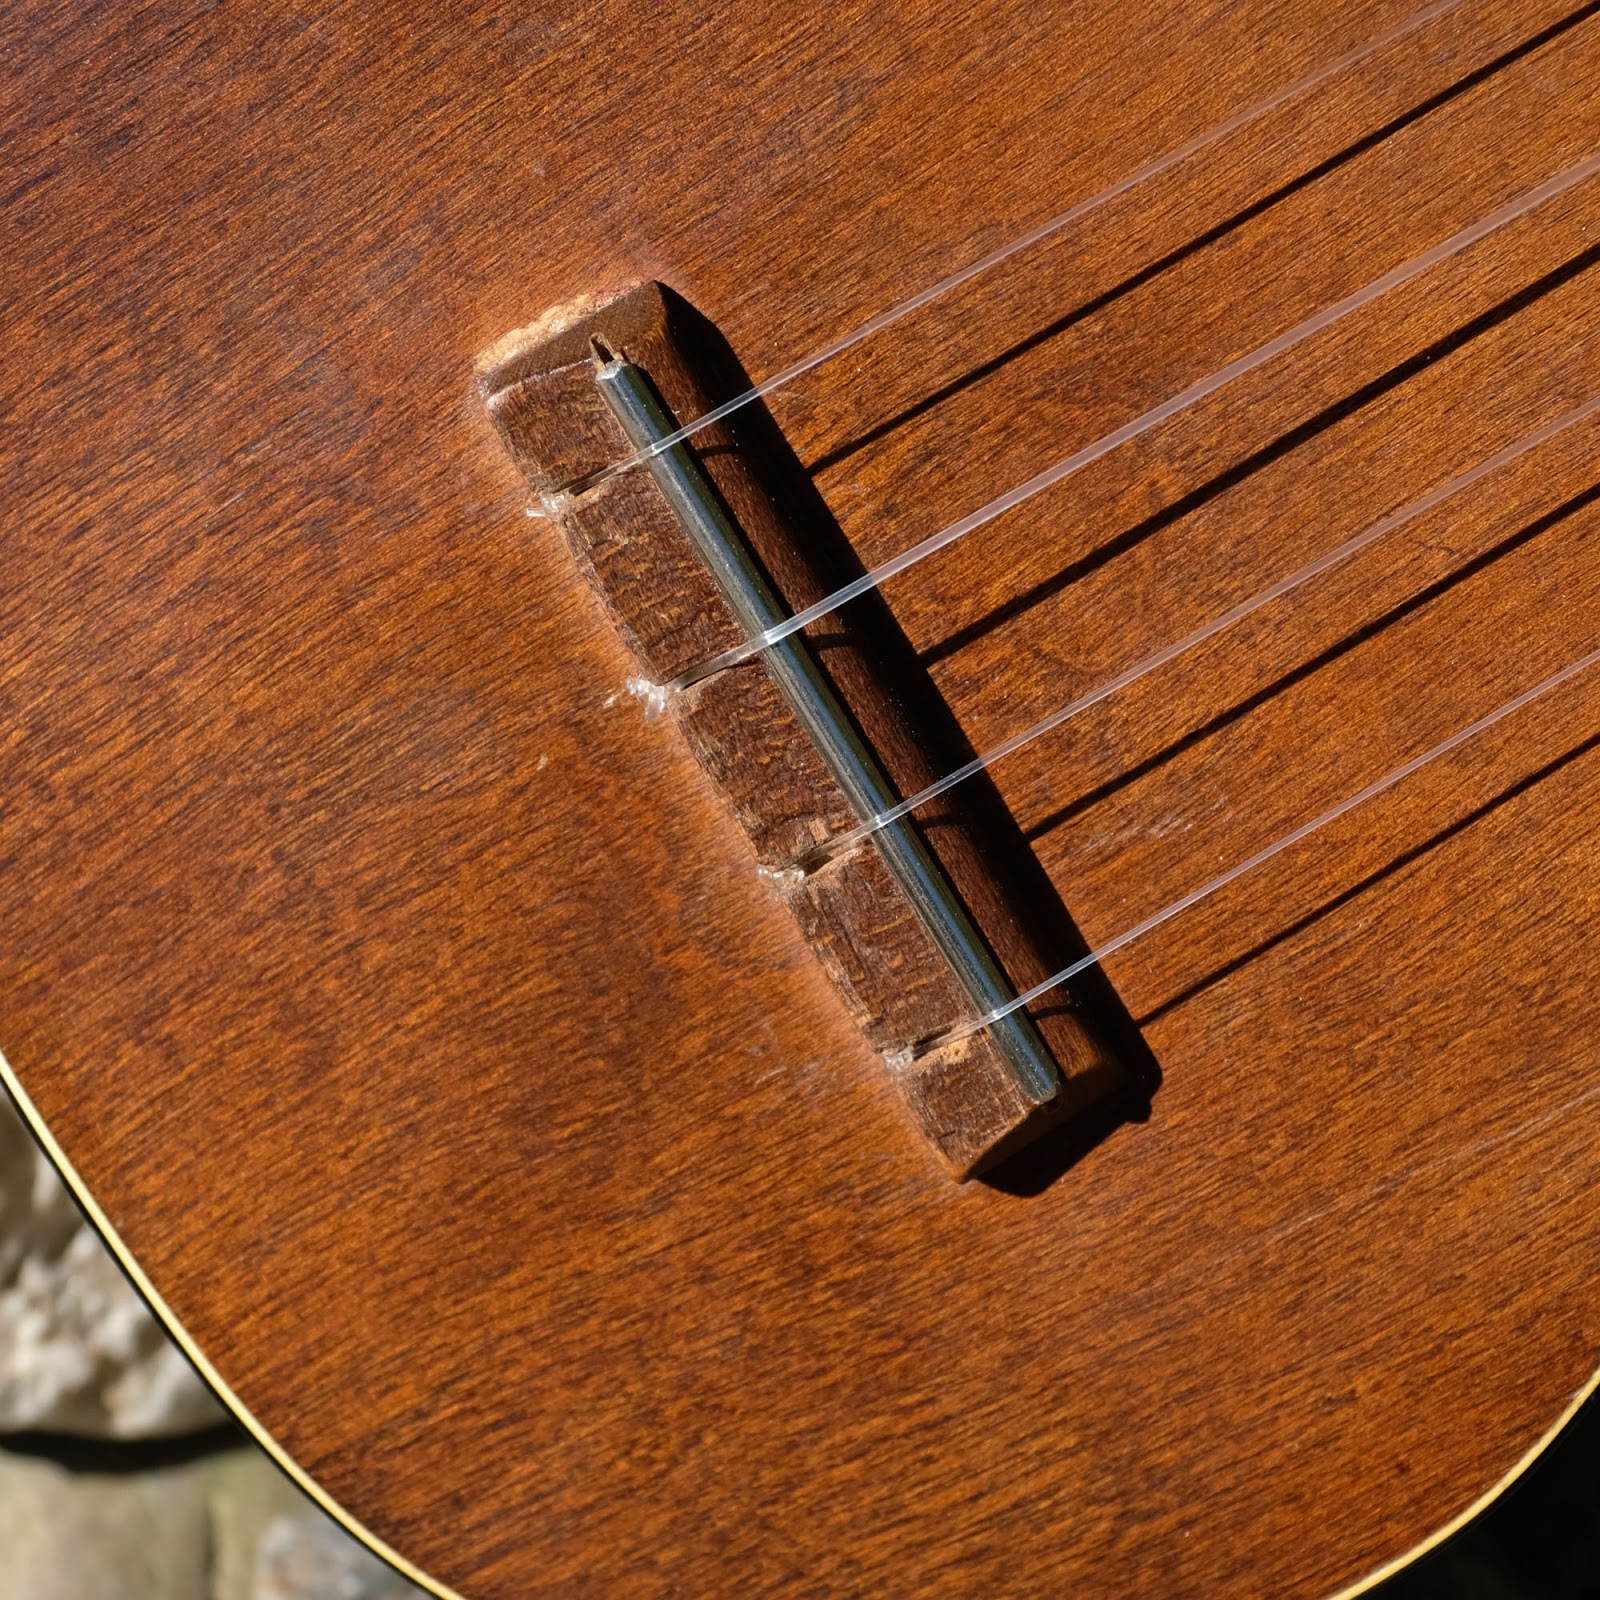
The string-mount slots are worn on the bridge, but as long as you ball-up the strings enough they hold just fine.


The tuners are the original, bakelite-buttoned friction pegs. They work just fine but like all friction uke pegs -- they'll need to be tightened-up via the set-screws once in a while. Someone before me went ahead and added washers under each button which helps them turn more freely, though.


I added side dots at 3, 5, and 7.

There's a tiny patched hole on the rear of the heel where I pre-drilled to install my bolt-reinforcement from the inside.


Comments