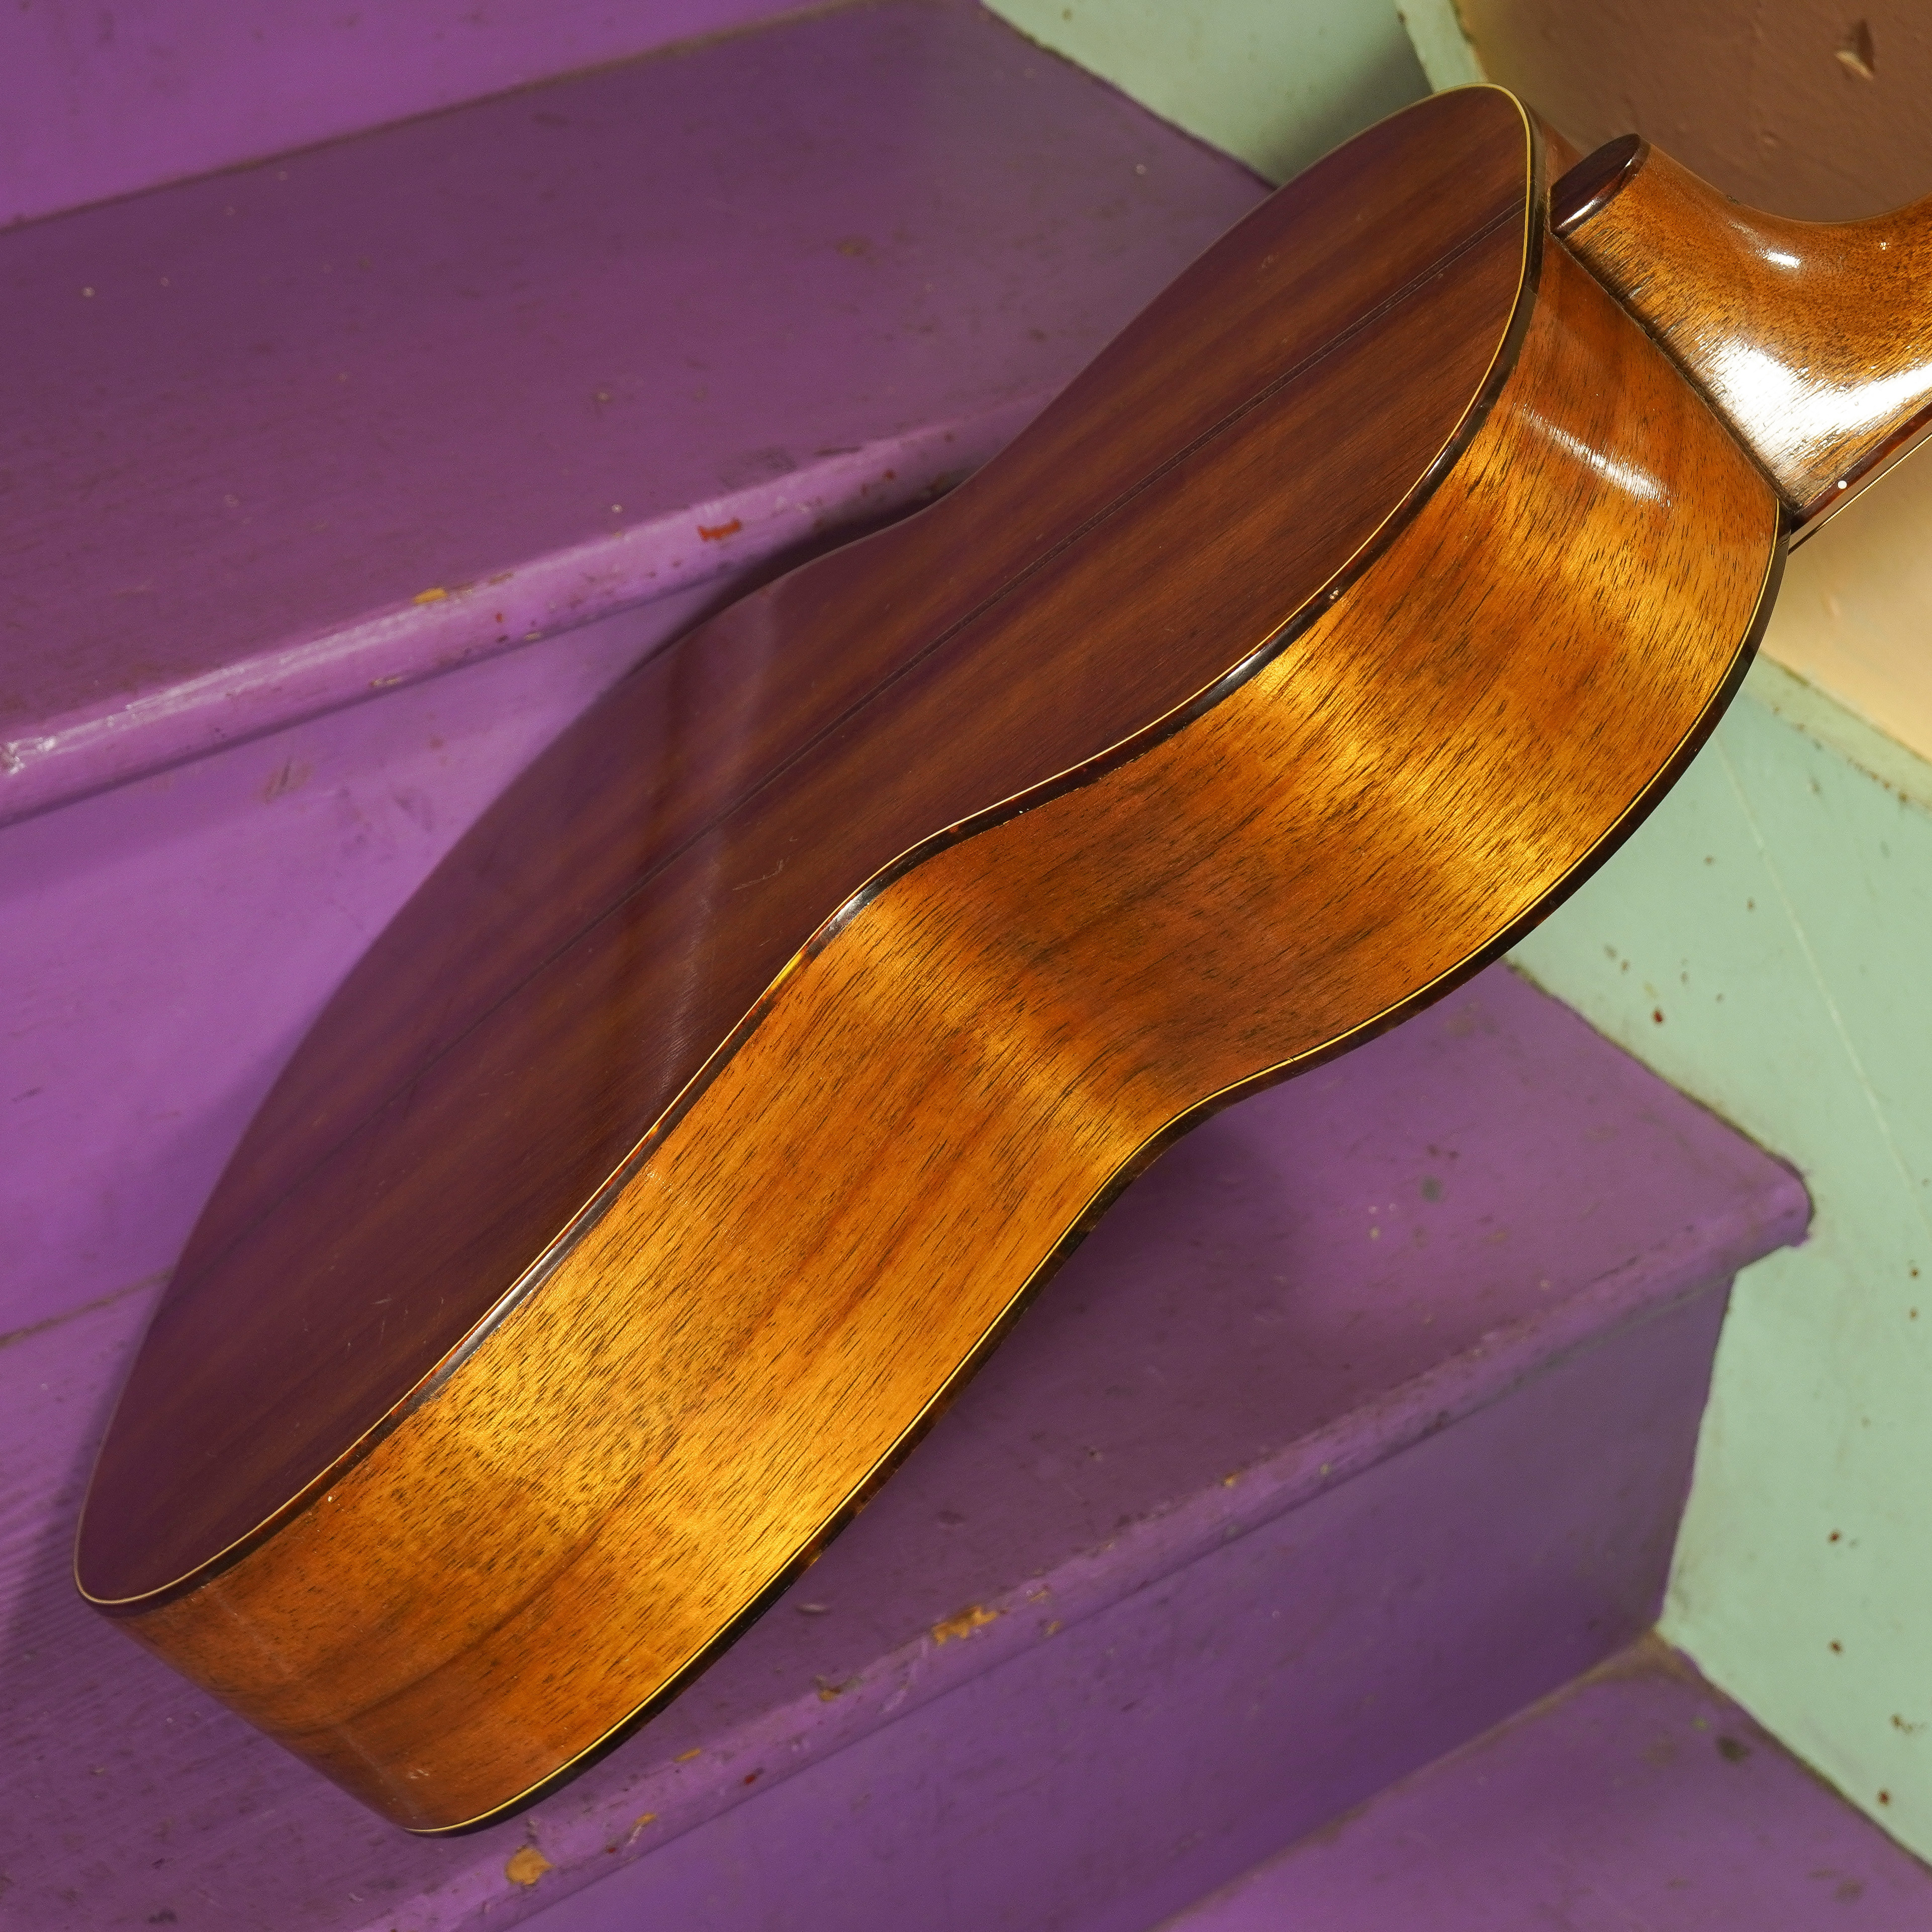
I've worked on a variety of Harmony-made guitars with the "Lindbergh" (we call it that -- it doesn't necessarily entail a Lindbergh connection, mind you) airplane bridge. For others that I've documented, see here and here and here. This is the cleanest and prettiest so far, with its pearl trim all over and koa-looking figured Cuban mahogany on the back and sides. It also has an ebony fretboard and, at some point in the past, had received some repairs -- some of which were good and some of which "sunk its battleship" as it aged.
I really like period Harmony guitars like this as light-attack fingerpickers but they're really only so-so with a flatpick and they're usually insanely under-braced which leads a lot of them into all sorts of structural trouble -- it's one of the reasons I've stopped buying them for resale when the opportunity arises as so few people are willing to stick to the thin gauges that keep them happy.
This one is a hair smaller than 0-size (and has a 24 1/8" scale length) and has a lightly ladder-braced solid spruce top but it also has the benefit of that long, narrow bridge shape which serves to strengthen that area of the top a lot. It's the reason these eggshell-like guitars of the "Lindbergh" variety hold-up comparatively well to other Harmony boxes of the same time.
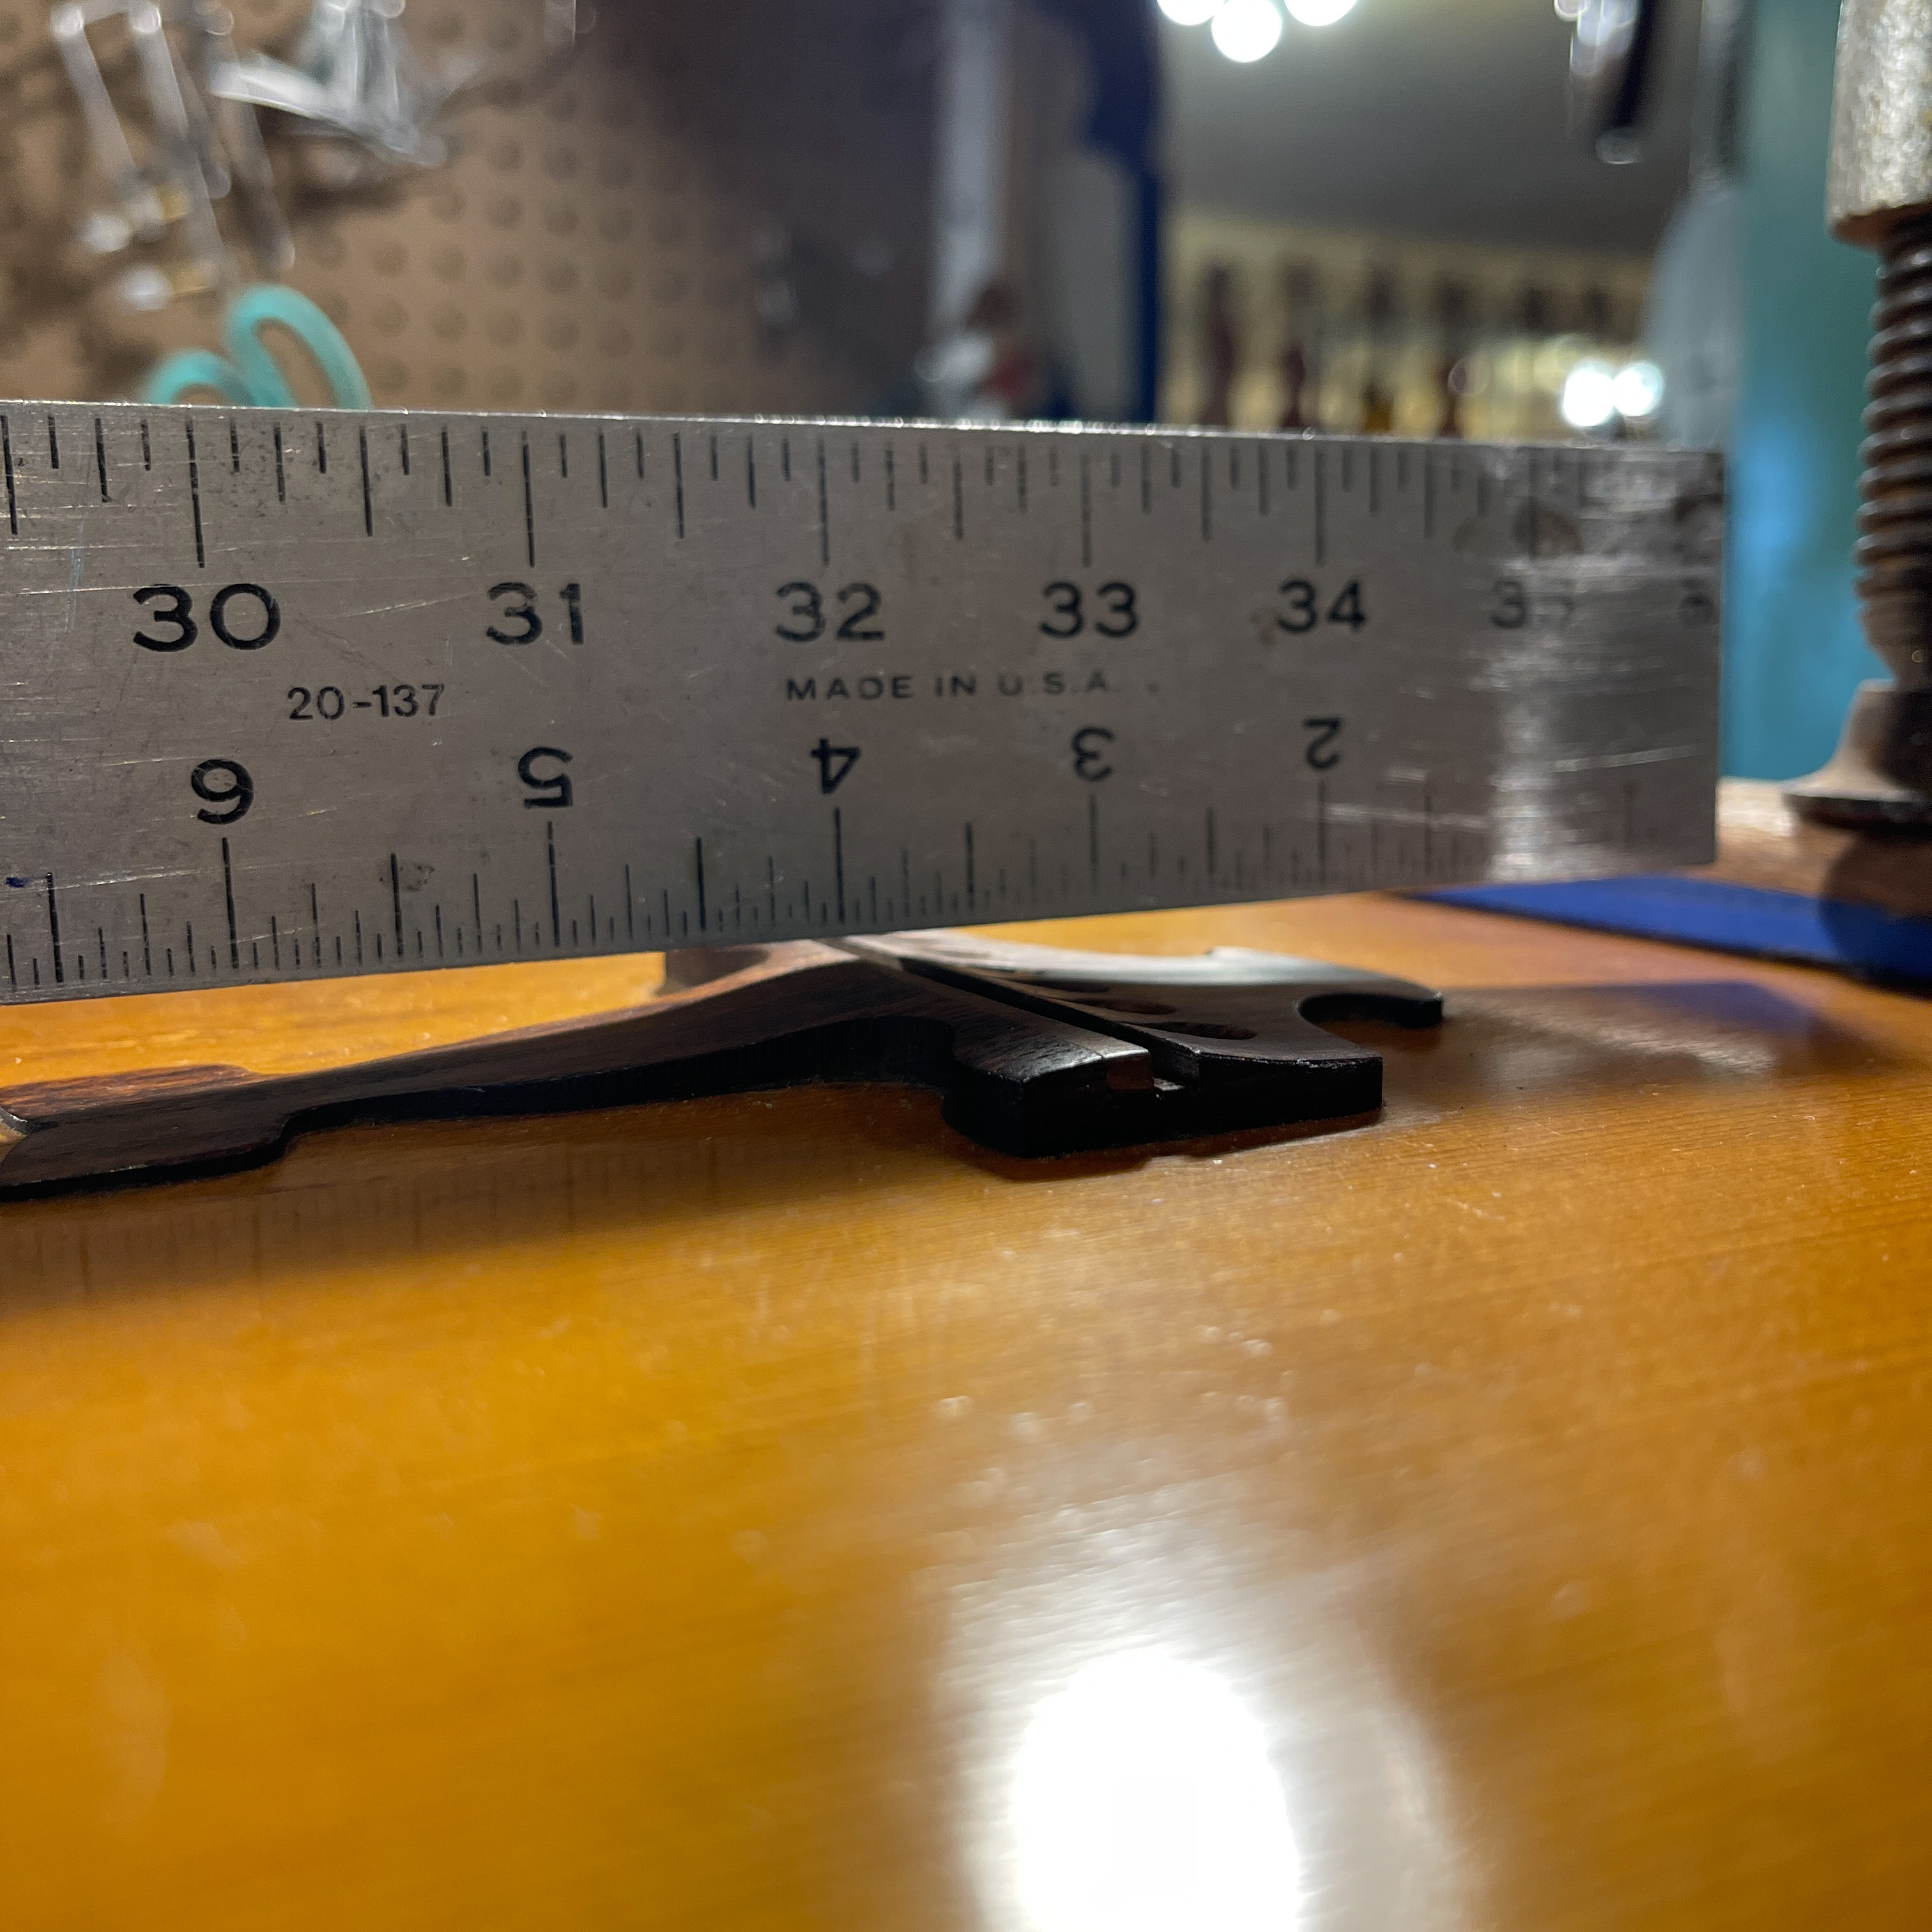
The repair challenge on this guy is that it needed a neck reset desperately. I could tell the neck block was unhappy, too, as the sides of the joint were "pinched-in" at the top where it meets the body. After resetting that, installing some new Golden Age tuners, and then doing some level/dress and glorified setup work, this is now playing on-the-dot (1/16" action at the 12th fret) and happily strung-up with 46w, 36w, 26w, 20w, 13, 10 strings.
I took a bunch of photos of parts of the repair process and you can see that and a description beyond the "pretty photos" at the bottom of this post.
Ok, wanna see some horrors?
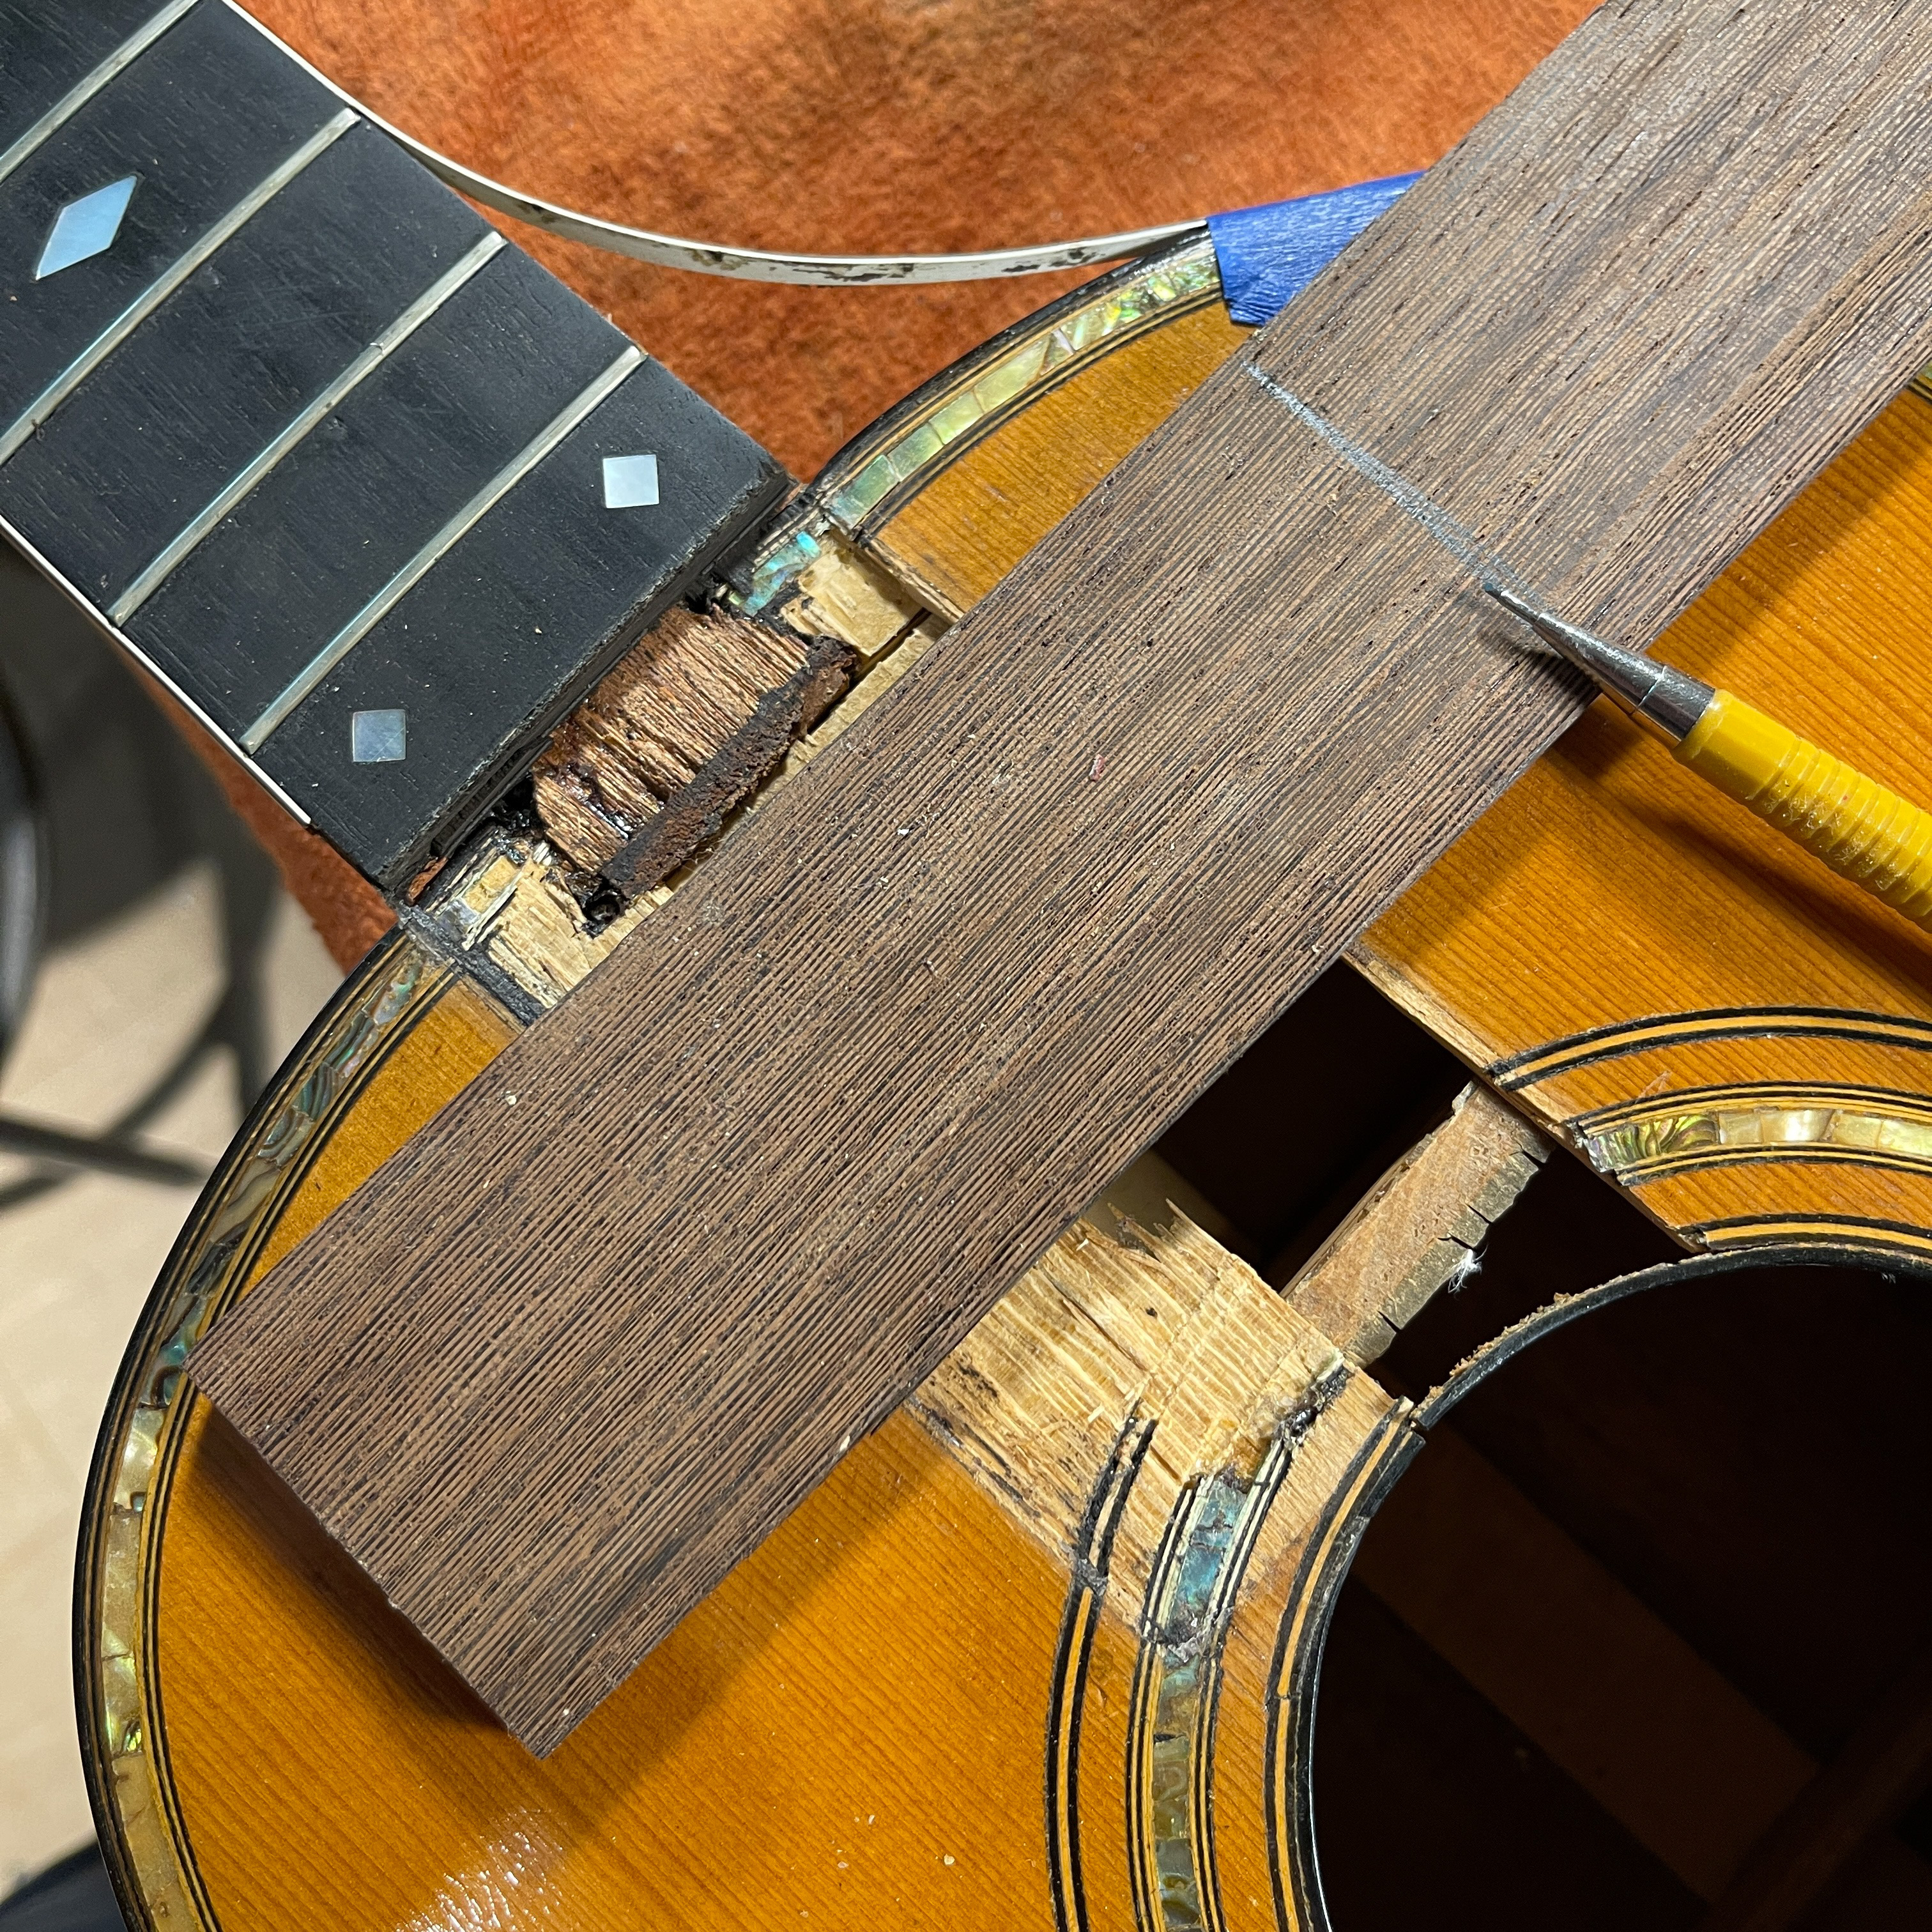
When this arrived, the neck joint was pinched-in and that's usually a sign of neckblock failure of one sort or another. There are two hairline cracks that had "pushed" the top right into the soundhole. A quick push from my seam separator and this whole extension wiggled out of place like this. It had been cut at the joining fret and clearly had some pretty ugly damage.
"Oh no! Blasphemy!" you say. Well, not really. On sub-$500 or questionably-built (read: Chicagoland, cheap Japanese, unusually-built) guitars I often do the same myself -- removing the extension to access the joint directly. This makes it a lot easier to get rid of weird obstacles that may exist in there and one just needs to heat the joint, pull the neck, and pop it back in with a shim to adjust the angle -- then tidy-up the work. Less work, same result, good functionality. "Oh no, blasphemy!" Whatever...
Still, the old "reset" job in this case was completely poor in its application. Whoever did it must have driven a wedge into an unheated neck joint gap to knock the angle back and in the process the poplar neck block itself was broken...
In the above you can see a mahogany wedge jammed in front of the dovetail. This is not necessarily a bad idea, but breaking the neckblock was not ideal.
In the above you can see how the whole joint is loose in multiple places and I can wiggle it open with a little pressure. Now -- how would you solve this problem to keep it in budget?
Someone with very deep pockets would heat all of this up, remove it all, replace or reglue the neckblock until it's solid, carefully trim the neck's heel, and reset the angle, then add reinforcement to the damaged section of top.
Yeah -- the owner doesn't have those deep pockets. My solution is simpler.
First, I tighten-up the back of the block into the heel with a bolt plus some liberal glue squeezed into the gap's opening. This effectively makes it a "Spanish heel" because now the block and the neck are "one piece." What you're not seeing here is that I later added a second bolt to the lower part of the heel about an inch farther down.
Next, I pick some 1/4" thick backing wood to make a "neck block extension" that will glue-up under the top. I will fit this so it will clamp right-up into the face of the neckblock so that it basically adds stiffness and support not only to the top but also means that the neckblock cannot shift forward once it's in place.
Here I've rigged a couple clamps to help me flex the neckblock/neck angle back into "original" position before the damaged neckblock pinched into the body.
The back of the guitar is supported by a small block at the endblock and also another at the neckblock so no pressure is being put on unreinforced parts of the body.
In the above, you can see the target height I want the saddle to be at -- I've cranked the "neck side" clamp down enough to achieve this height.
Finally, I clamp the block up. Note the small "access" window I've put right in front of the neckblock and the patch/reinforcement. This is so that the next guy who needs to get in there for whatever reason (let's cross our fingers) knows something's "up" in that spot and will investigate to find my screws bolting the whole collapsed mess up.
Before I repaired all of the damaged spruce under the extension and reinstalled the extension, I filled any weird gaps and voids (including that "access" window) in the neckblock and dovetailed area so that everything would be tough and tidy.
Stuff like this can be a headache if you overthink it, so my suggestion is always to do the most solid repair mechanically with the least amount of expense of effort just to make expense for the customer. Lemonade out of lemons!
Haters, proceed to judge me. I'll find it fun to ignore you.
Who am I to judge? However, I shared your post with my local tech who insists you'd have been better off utilizing frictionless infrastructures or reintermediating extensible interfaces.


Comments