
Workshop: Epoxy Bridge Reglue for Plywood Flattop

This is a '70s, Japanese, all-ply, Penco-branded dreadnought that needed a quick bridge repair and setup. These guitars have very little value except when they're working right, and so it's useful to be expedient and simple about the approach.
I only use epoxy for bridge repairs in weird situations or on ply tops where I want the adhesive to be gap-filling and squish in and bond to the not-quite-glue-free splintered layers of ply under the bridge.

What a winner! ...ehhhh.

The bridge was basically entirely loose and being held-on by the bolt that was hidden in it. I gently used my seam separator to clip any loose ply layers from the foot of the bridge.

Yup, this hideous sight is the usual thing we see on ply-top guitars when the bridges pull. They take layers with them!

It's easier to see the cross-grain second layer in a closeup.

Then, of course, there's the crud to get off the bottom of the bridge.

This is how I do it! If your bridge isn't curved from the top bellying, you can also use a simple belt sander.

I like to save rosewood sanding dust for spot repairs, though...

Ta-da.

Here I'm finding the correct placement for the bridge which is about 1/8" to the rear. So, I could yank the adjustable saddle out and I could cut a brand-new saddle in a freshly-expanded saddle slot but time is money, folks and this guitar is not money. I'm just going to reposition the bridge and let there be a lip of ugly finish in front of it. Intonation beats out finish any day...

That done, I cut the finish around the footprint of where I want the bridge to be, use a chisel to scrape against the grain to remove any weird icky things, and then sand it in preparation for glue.
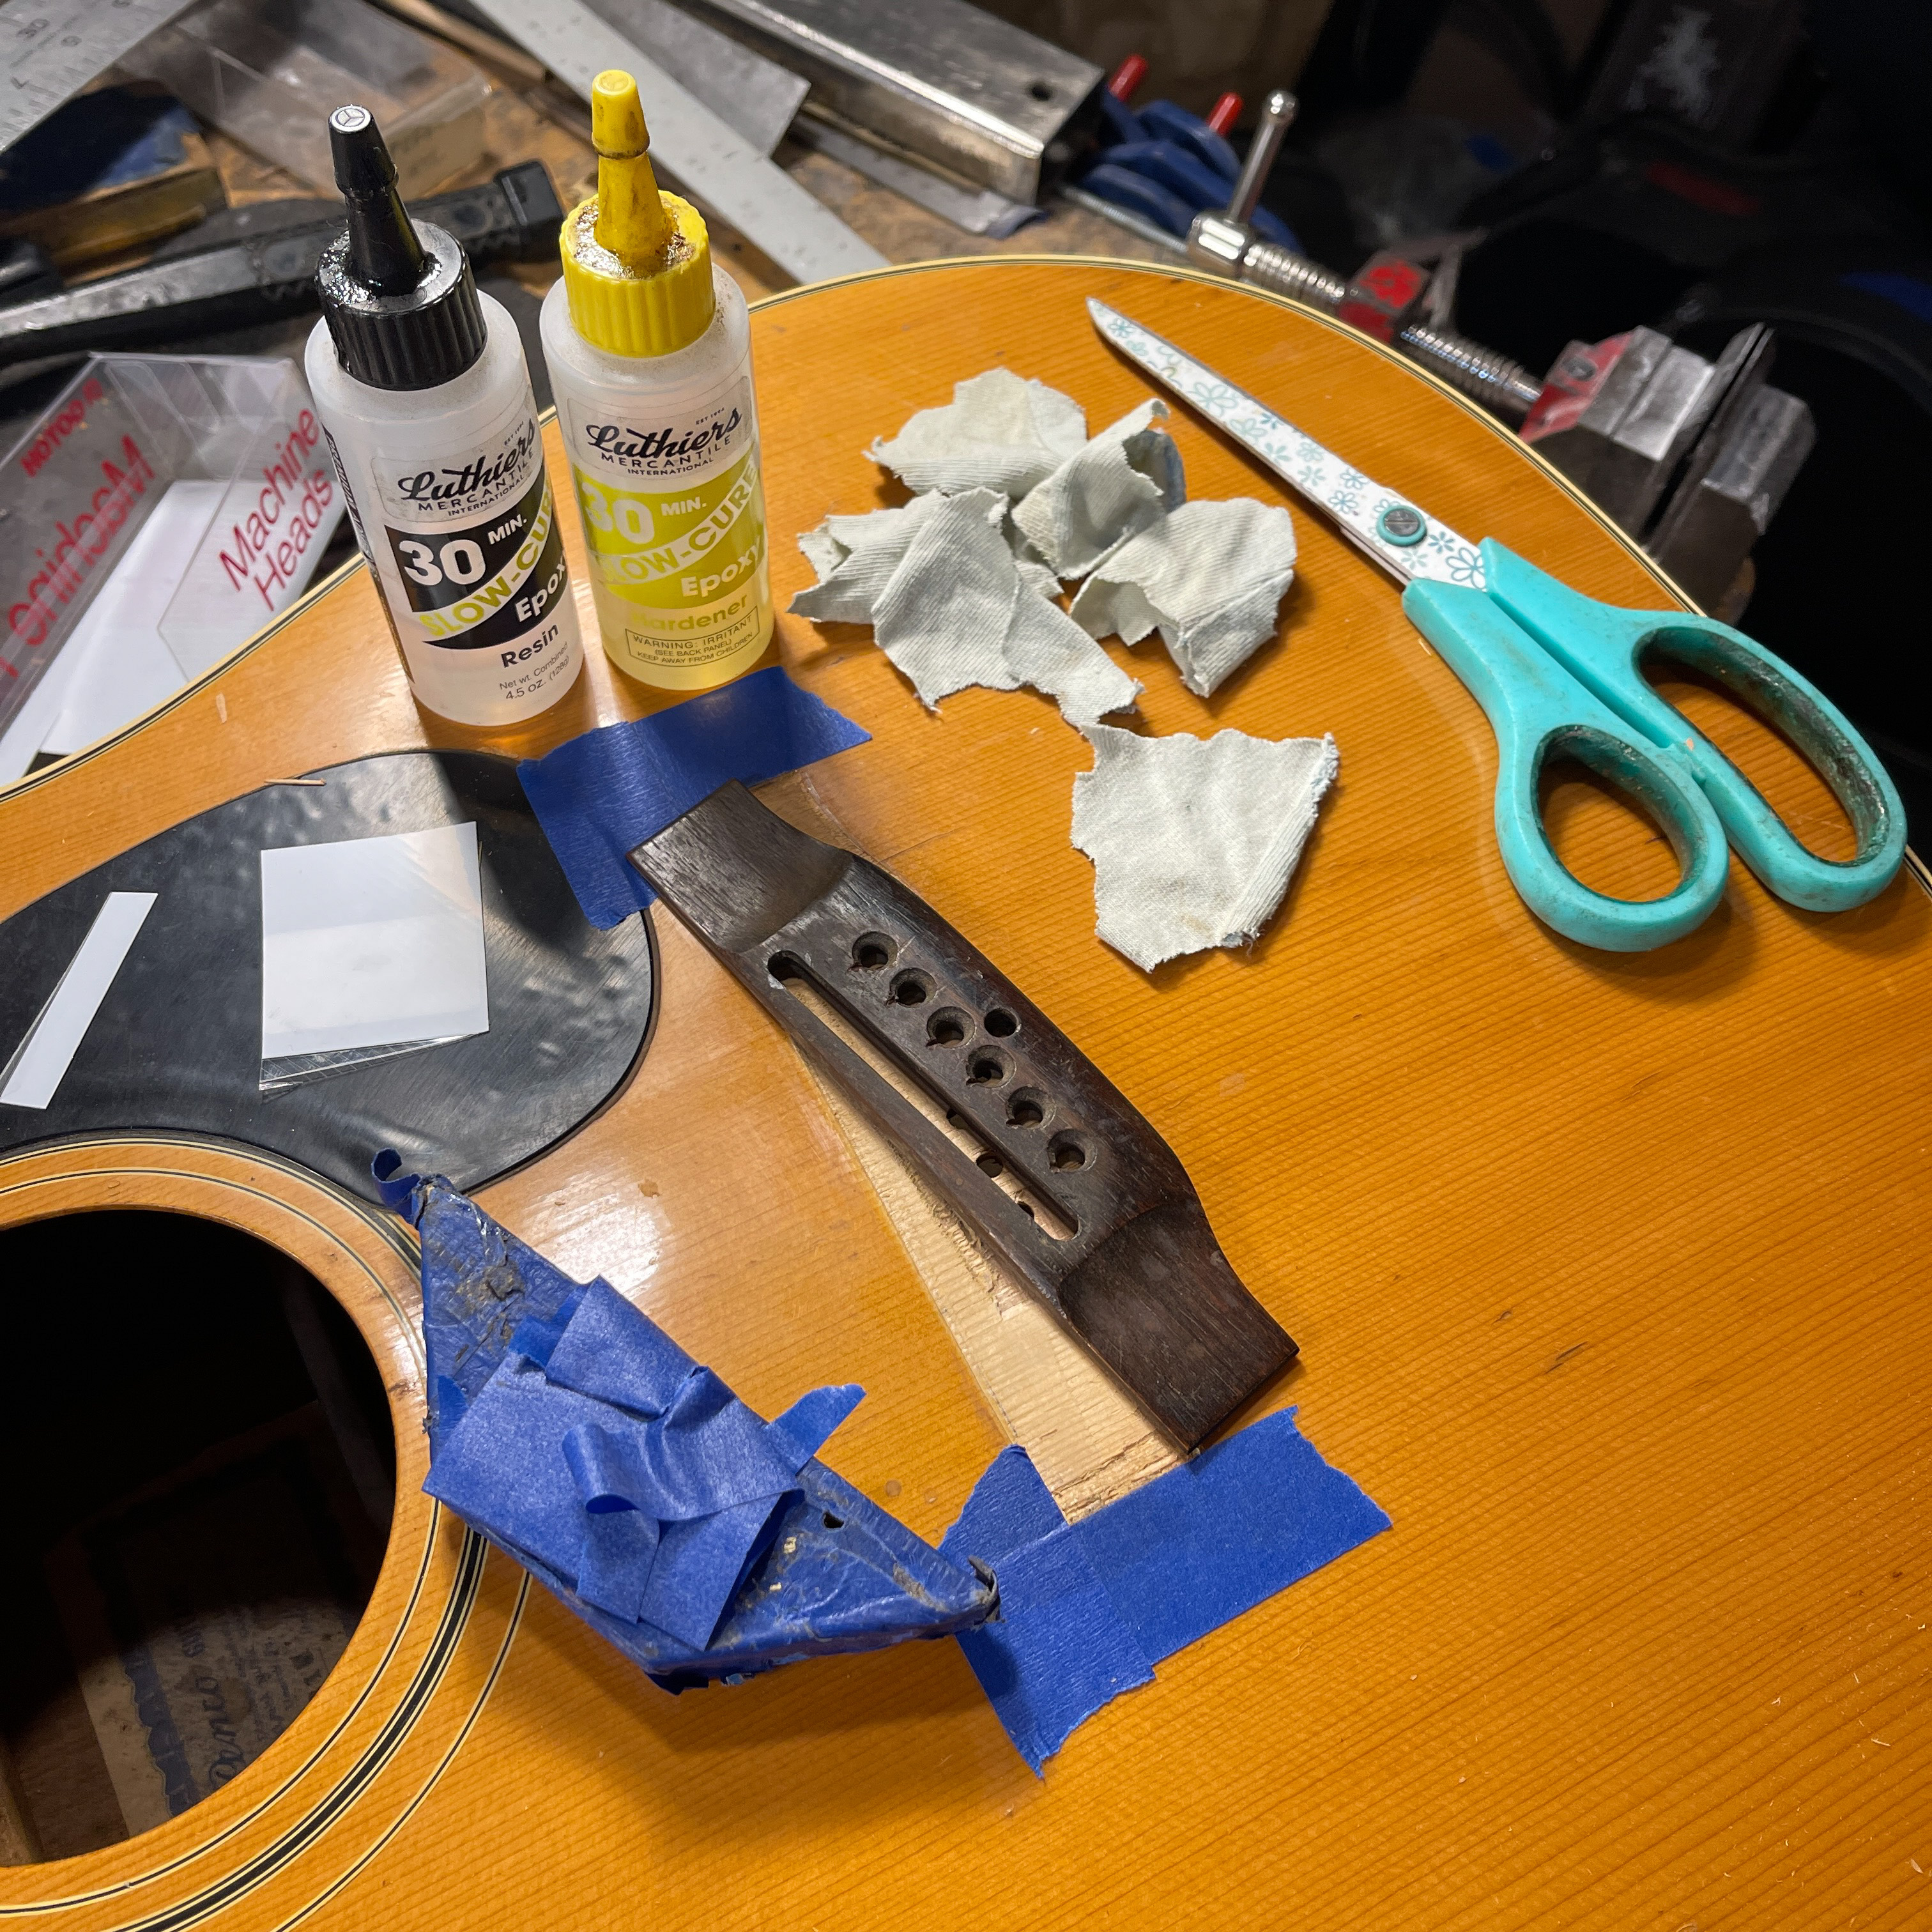
Here are the tools -- the maple bridge plate block with blue tape all over it goes under the bridge for even clamping. I use tape to hold it in position while I get my clamps on.

Mix it well and spread it thick! After clamping, I remove excess glue by wiping it off quickly with tiny, shredded-up rag pieces.

Here it's all clamped-up using leather-padded, lame-o, perfectly-functional "cauls."
This, by the way, is exactly the way you glue a bridge normally (with red label Titebond), but I figured if anyone is out there with a cheapy like this, it might be useful to let them know it's ok to let the repair match the instrument. If you do use epoxy, make sure it's good stuff -- I use the 30 minute stuff from LMII which is a rebranded other brand, but it's a lot better than whatever will be found at your local hardware.
Comments
self balancing wheel weights in Delhi